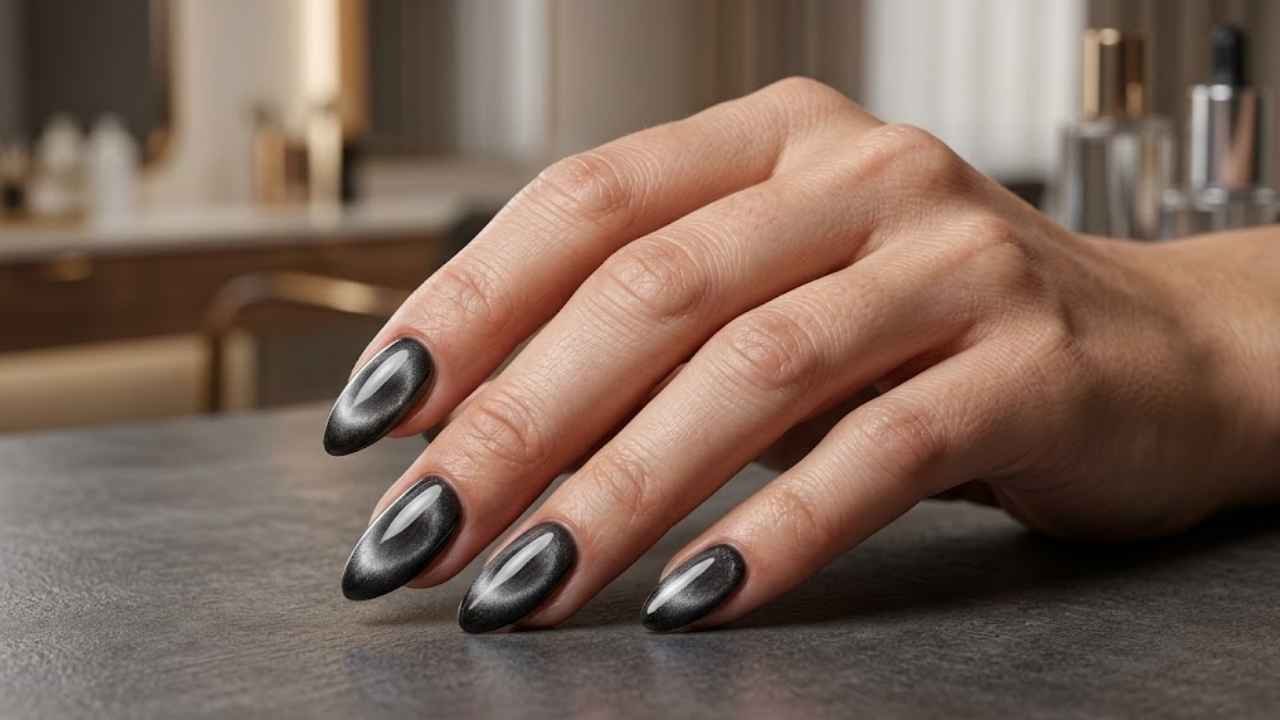
You have probably seen those mesmerizing nails that look like moving velvet on your social media feed. They catch the light from every single angle. They look like expensive salon art, but you can actually create them yourself at home with the right tools.
This design is taking over salon requests and Pinterest boards because it gives your hands a rich, multi-dimensional glow. If you want a fresh look that gets you compliments everywhere you go, smoky velvet cat eye nails are your best choice right now. Let us walk through how you can get this stunning finish on your own nails.
What Makes Smoky Velvet Cat Eye Nails So Popular?
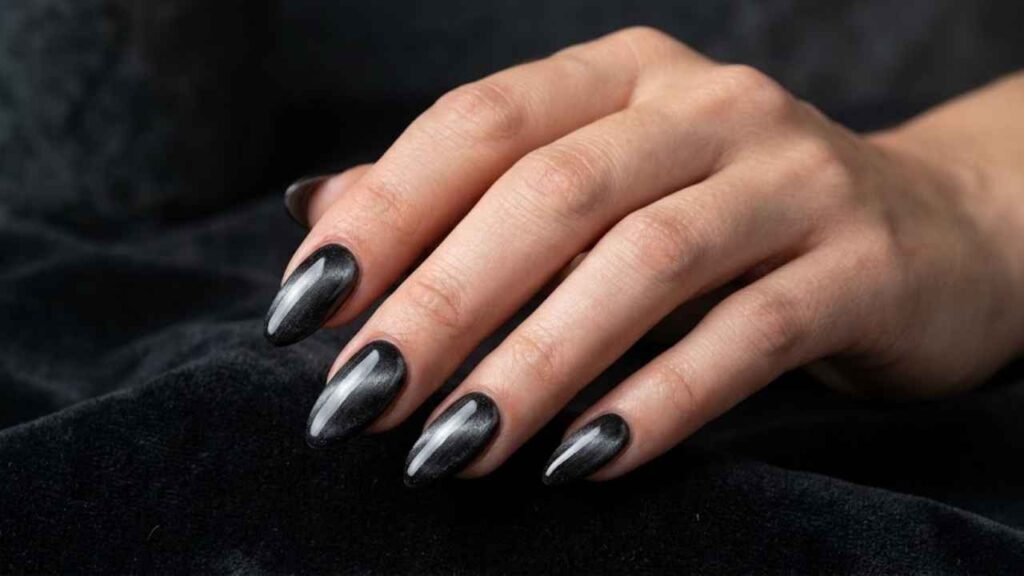
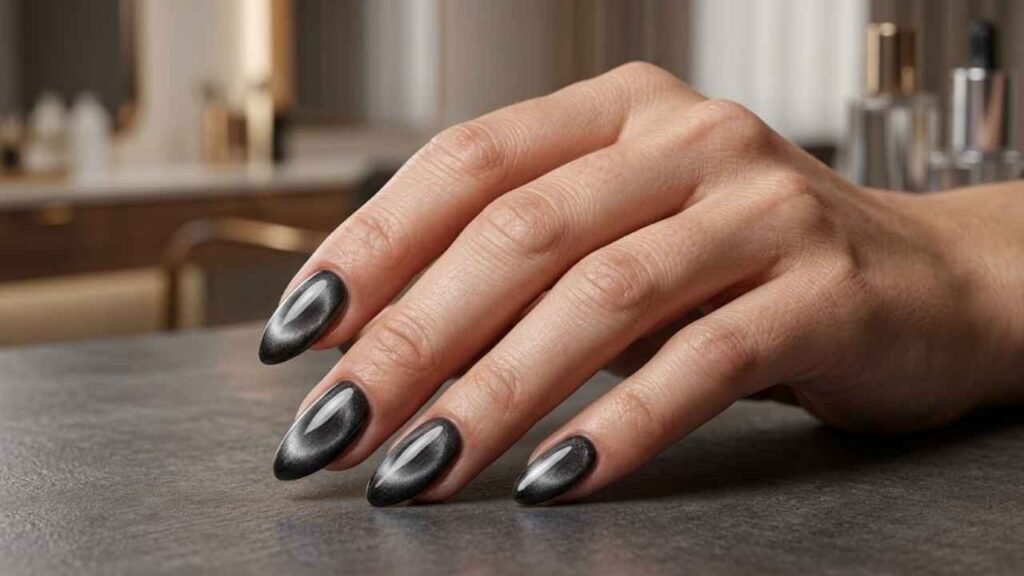
Standard cat eye polish uses a magnet to push magnetic particles into a sharp single line. Smoky velvet cat eye takes things a step further. Instead of one harsh stripe, the magnetic particles float and blend together to create a soft, glowing cloud. It looks just like crushed velvet fabric sitting on your fingertips.
The smoky part comes from using dark, moody base colors like charcoal gray, deep plum, forest green, or midnight black. When you layer a silver or colored magnetic gel over these dark shades, the result is moody, mysterious, and very chic. It fits right in with current cute nail ideas that favor rich textures over plain flat colors.
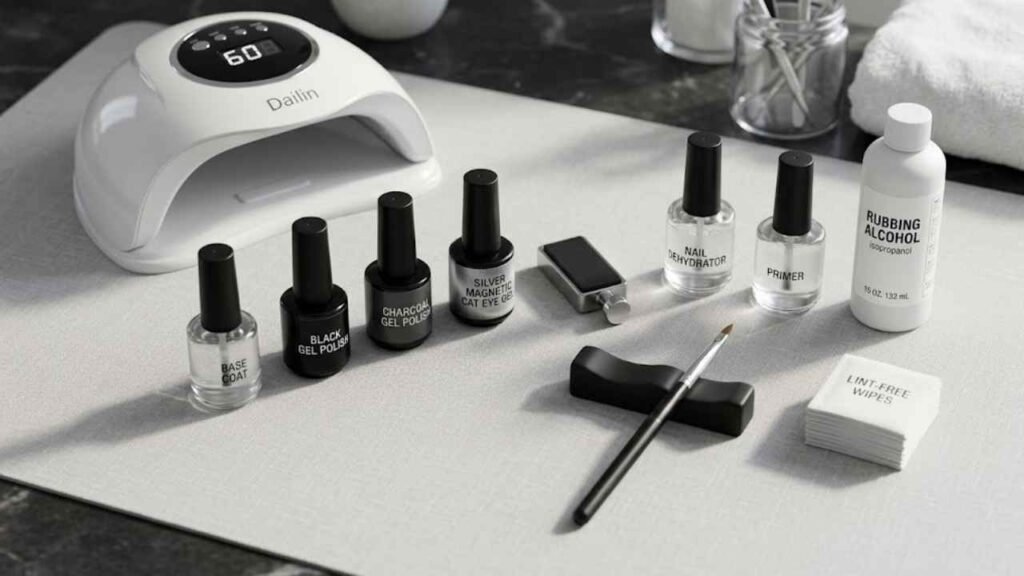
What You Need Before You Start
Creating this look requires a few specific items. Gather everything before you sit down so your process stays smooth and easy.
- UV or LED nail lamp
- Nail dehydrator and primer
- Gel base coat
- Dark gel polish color like black, dark brown, or deep grey
- Cat eye magnetic gel polish with silver or matching shimmer
- Strong neodymium magnet
- Gel top coat
- Rubting alcohol and lint-free wipes
Before you begin painting, make sure your nail beds are clean and your cuticles are neat. If you need help with prep, you can check out this guide on How to Keep Your Cuticles Healthy and Hydrated at Home to get your skin looking smooth.

Step-by-Step Tutorial: How to Do Smoky Velvet Cat Eye Nails
Do not let the salon look intimidate you. Breaking the process down into simple steps makes this easy nail tutorial very manageable for beginners.
Step 1: Prep and Base Coat
Start by wiping your nails with rubbing alcohol to remove any oils. Apply a thin layer of your gel base coat to all five fingers. Cure this layer under your UV or LED lamp according to the product instructions, usually for thirty to sixty seconds.

Step 2: Apply the Dark Base Color
The secret to the smoky effect is a dark foundation. Paint a thin layer of black, dark navy, or charcoal gel polish over your base coat. Cure it under the lamp. Paint a second thin layer to make sure the color is completely solid and streak-free, then cure again.
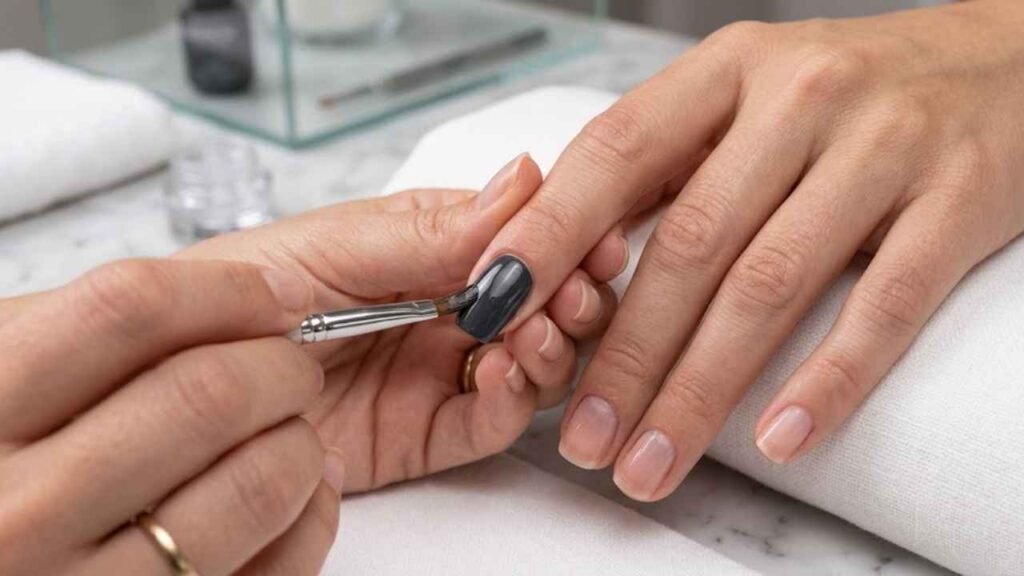
Step 3: Apply the Magnetic Cat Eye Polish
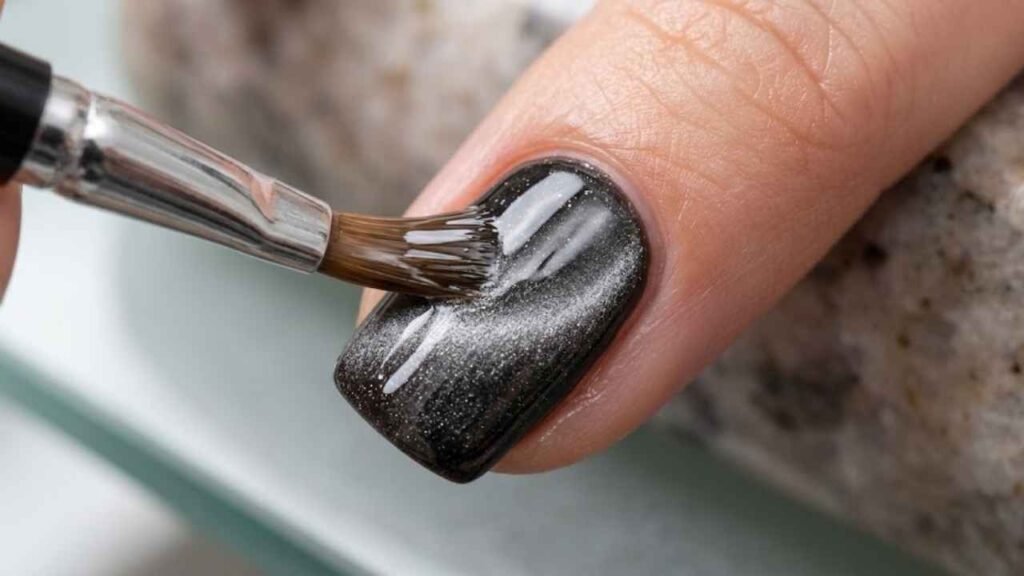
Now comes the fun part. Apply a coat of your magnetic cat eye gel polish over the dark base. Do not cure this layer yet. Keep your hand steady and pick up your magnet.
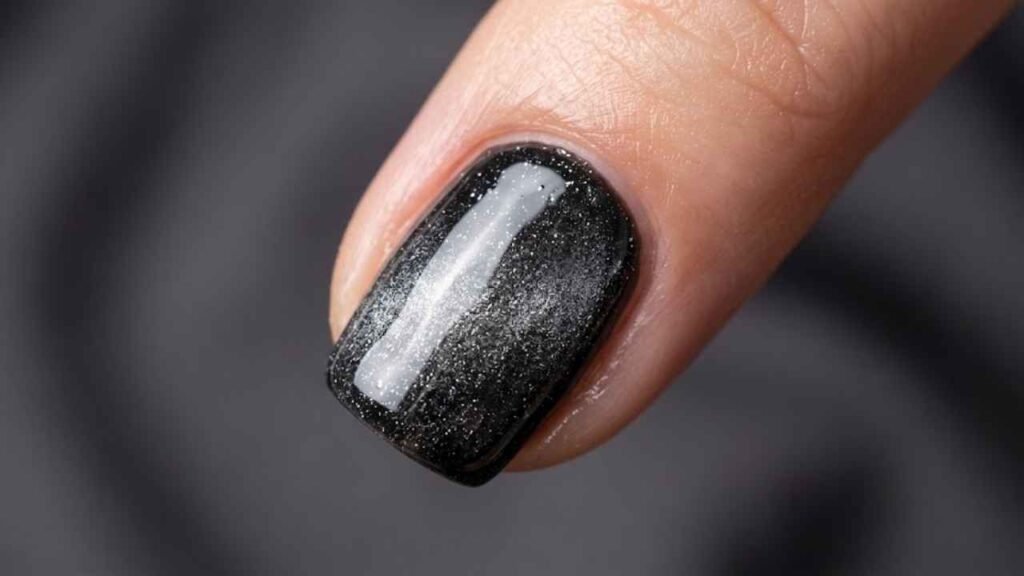
Step 4: Use the Magnet to Create the Velvet Effect
Hold your magnet close to the nail without touching the wet polish. For the classic velvet look, hold two magnets on opposite sides of the finger, or use a multi-directional magnet tool. Push the particles around until the polish looks like a soft, glowing light is trapped inside the middle of the nail. Watch the polish shift until you see that deep, smoky glow.
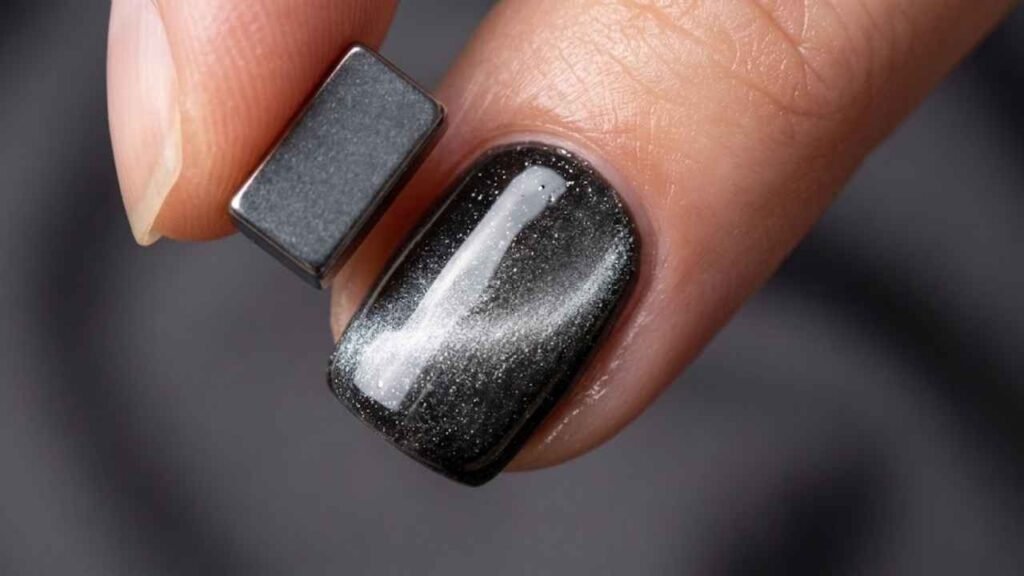
Step 5: Flash Cure and Top Coat
As soon as you love how the velvet glow looks, flash cure that nail under your lamp for ten seconds so the particles do not drift apart. Once all your nails are done and fully cured, apply a shiny gel top coat. Cure the top coat completely to lock in that amazing 3D depth.
Tips for Better Results
Working with magnetic gel can take a little practice. These simple tips will help you get it right on your first try.
Work on one nail at a time. If you paint all five fingers before using the magnet, the polish will start to level out and you will lose your sharp magnetic effect. Paint one nail, magnetize it, flash cure it, and move to the next.
Keep your magnet clean. If gel polish gets onto your magnet, it can ruin your design when you try to hover it over the next nail. Wipe your magnet down with rubbing alcohol between uses.
How to Make Your Manicure Last Longer
Gel manicures can last for weeks if you treat your hands right. Always cap the free edge of your nail with your color and top coat. This stops water from getting underneath the gel, which is the main reason gel lifts off.
Apply cuticle oil every single day. Healthy skin around your nails keeps your at-home manicure looking fresh and prevents the edges from catching on clothes or hair.
Common Mistakes to Avoid
Many beginners hold the magnet too far away from the nail. You want the magnet close, about two to three millimeters away, without actually touching the wet polish. If your magnet is too far away, the particles will not move.
Another common mistake is skipping the dark base color. If you put magnetic polish directly onto a bare nail or a light nude base, you lose that deep, smoky contrast that makes this trend look so special.
Variations You Can Try
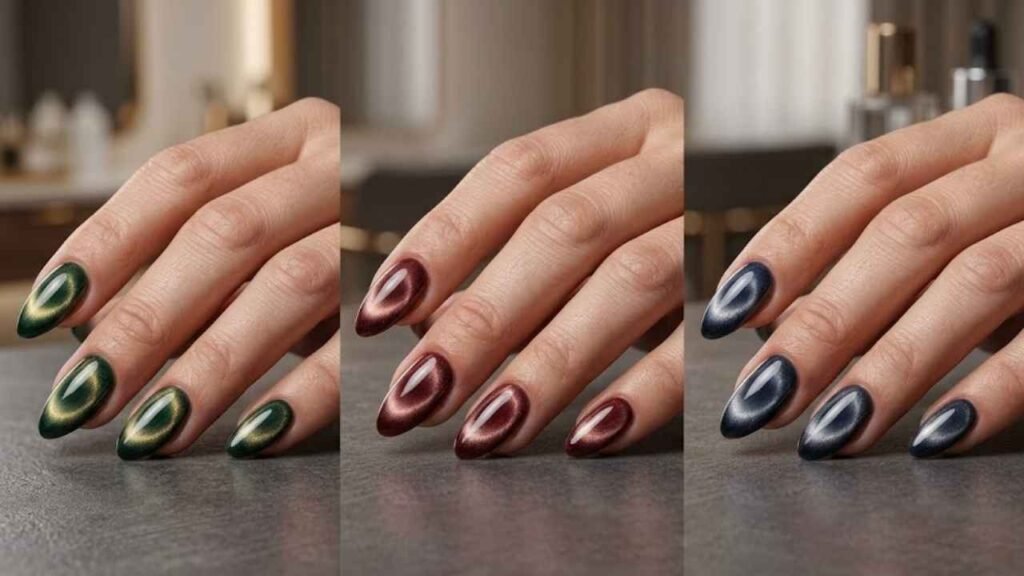
Once you master the classic smoky grey velvet look, you can have fun changing up the colors for different moods.
- Deep emerald green base with gold magnetic shimmer for a jewel-toned finish
- Dark cherry red base with rose gold magnetic polish for a warm, cozy vibe
- Midnight blue base with silver glitter for a starry night effect
You can also try a matte top coat instead of a shiny one. A velvety texture with a matte finish looks surprisingly soft and modern.
Frequently Asked Questions
Do I need a special lamp for cat eye gel polish?
Yes, gel polishes require a UV or LED lamp to harden properly. Standard air-dry nail polish will not work with magnetic cat eye gels.
Why does my cat eye design fade after I remove the magnet?
Magnetic particles can drift back out of place if you wait too long before curing. Make sure you flash cure your nail under your lamp immediately after moving the magnet into the shape you want.
Can I do this trend over regular nail polish?
Standard air-dry magnetic polishes do exist, but they do not hold the velvet cloud effect as well as soak-off gel polishes. Gel gives you the time to shape the magnetic particles exactly how you want them before locking them in place with light.
How do I remove smoky velvet gel nails safely?
File off the shiny top coat layer with a hand file to break the seal. Soak cotton pads in acetone, place them on your nails, and wrap them in foil for about ten to fifteen minutes. Gently push the softened gel off with a wooden cuticle pusher.
Smoky velvet nails give you salon-quality art right in your own home. Grab your magnet, pick your favorite dark base, and have fun creating your own glowing velvet manicure today!