There is nothing quite as annoying as looking down at your hands and seeing your fresh manicure starting to lift at the edges. You feel that tiny snag on your sweater, or you spot a little gap near your cuticle where water sneaks in every time you wash your hands. When acrylic nails start to lift, the panic sets in fast. You might be tempted to just peel the whole plastic piece right off, but pause for a second before you do that.
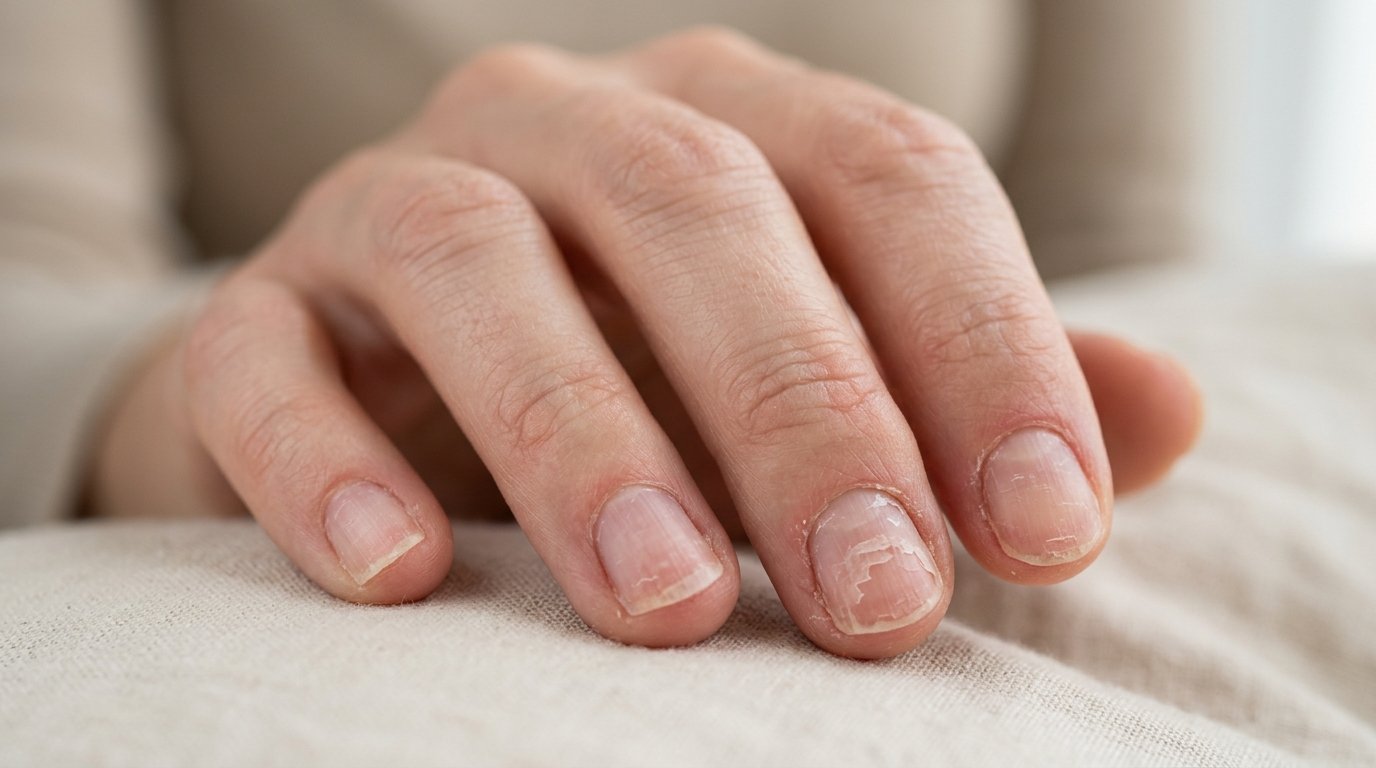
Peeling off your acrylics takes layers of your real nail plate right along with them. That leaves your natural nails thin, sore, and weak. Dealing with a lifting acrylic nail needs a bit of patience and the right set of tools. You can handle small lifting issues safely right at home if you know what steps to take. We want to show you how to fix lifting acrylic nails properly so your manicure lasts longer and your natural nails stay healthy.
Why Do Acrylic Nails Start Lifting in the First Place?
Before you fix the problem, you need to know why it happened. Understanding the root cause helps you stop it from happening on your next set. Most of the time, lifting happens because moisture, oil, or air gets trapped between your natural nail and the acrylic product.
If your natural nail plate still had natural oils on it when the acrylic was applied, the product could not form a strong bond. Another common culprit is improper cuticle prep. If acrylic is applied directly over live skin or the cuticle tissue on the nail plate, it will lift as that skin grows out. Hitting your nails hard against solid surfaces, using your nails as tools to open cans, or picking at the edges will also break the seal between the acrylic and your nail.
Sometimes, the issue comes down to the products you use or how much primer was applied. If your nails tend to hold a lot of natural moisture, you might need extra dehydration steps before you begin your acrylic application.
The Dangers of Ignoring Lifting Acrylics
You might think a tiny pocket of lifting at the edge is no big deal, but ignoring it can cause real trouble. That tiny gap acts like a pocket for water, soap, and bacteria to hide in. Once moisture gets trapped under a lifted acrylic nail, it cannot easily escape.
This trapped moisture creates a dark, damp breeding ground for bacteria and fungus. If you spot a green or yellow tint under your lifted acrylic, you are looking at what nail techs call green molds or bacterial infections. Fixing lifting early stops moisture from getting trapped and keeps your natural nails safe from harm.
Tools You Need for Safe Maintenance
You do not need a whole professional salon setup to fix a lifting acrylic nail, but you do need a few specific items. Having the right tools makes the process clean and prevents accidental damage to your fingers.
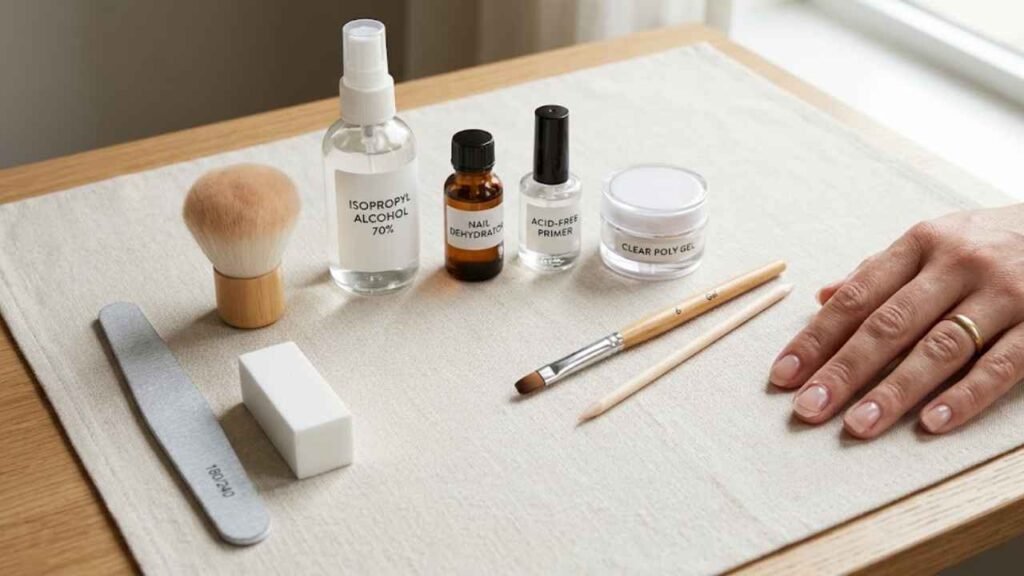
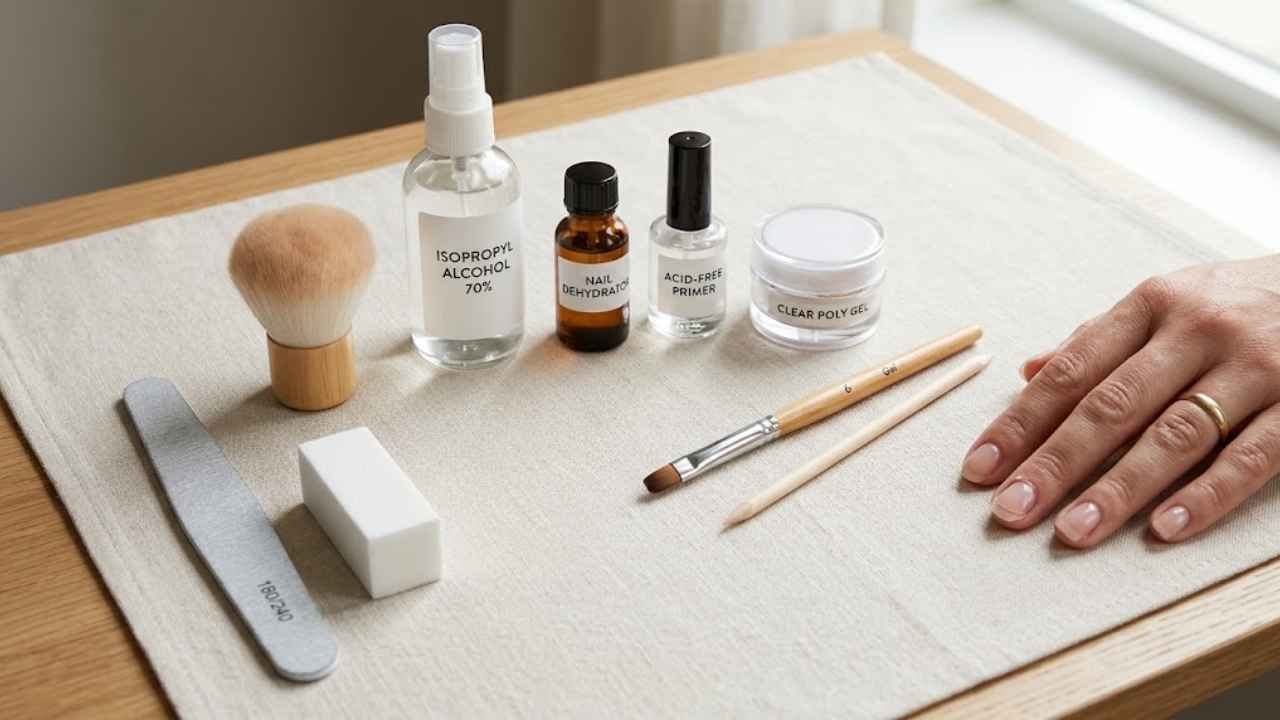
Here is what you should gather before you start:
- A fine-grit nail file or hand buffer
- A soft manicure brush to dust away debris
- Isopropyl alcohol or nail cleanser
- A high-quality dehydrator and acid-free nail primer
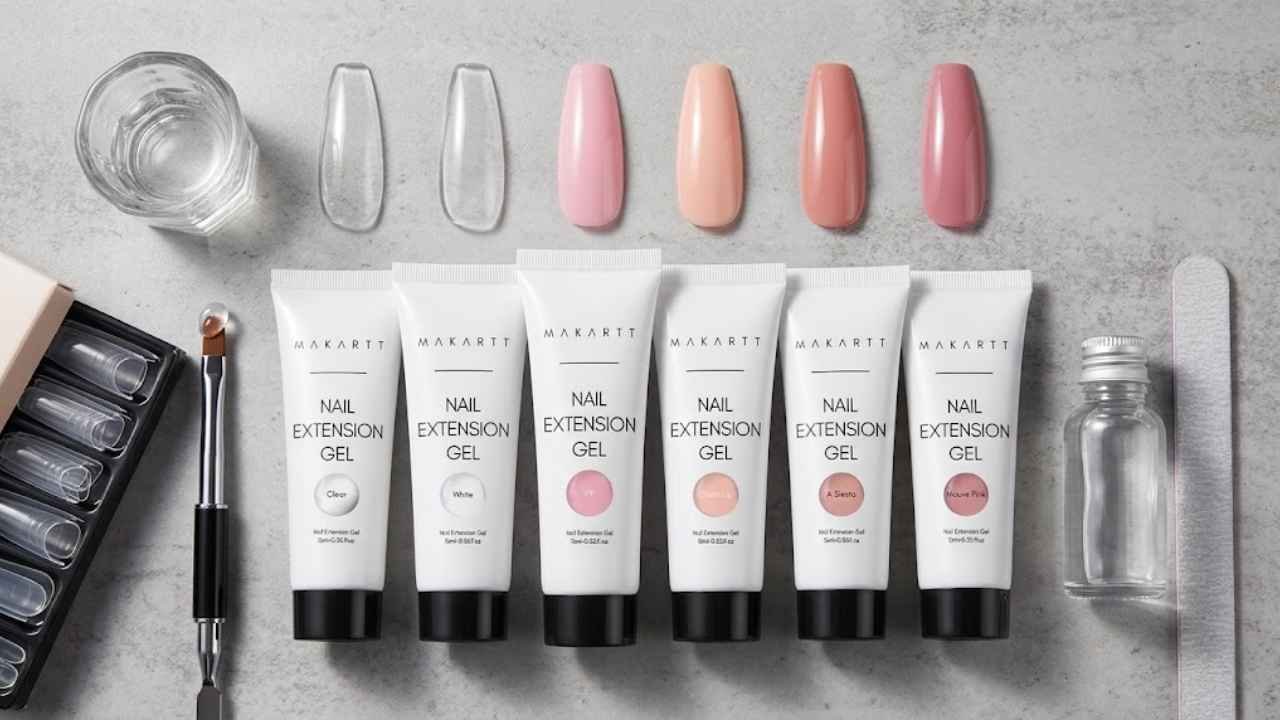
- A reliable acrylic maintenance product like the Makartt Poly Nail Extension Gel Kit which you can view the Makartt Poly Nail Extension Gel Kit on Amazon for your repair work.
- A clean orangewood stick
Using a formula that gives you good control helps fill in gaps without making your nail look bulky or uneven.
Step-by-Step Guide to Fixing Lifted Acrylics
When you spot a lifted area, address it right away before dirt gets underneath. Take your time with these steps. Rushing can cause you to file too hard into your natural nail plate.
Step 1: Clean and Sanitize Your Hands
Start with clean hands. Wash your hands thoroughly with soap and water, then dry them completely. Wipe down your nails with isopropyl alcohol to remove any surface oils or lotion residue. This gives you a clean canvas to work on.
Step 2: Carefully File Away the Lifted Product
Take your fine-grit hand file and gently file down the area where the acrylic has lifted from the natural nail. Do not use a coarse file here, because you might accidentally grind into your real nail. File softly in one direction across the lifted edge until the loose acrylic is completely thinned out and flush with the nail.
If a large portion of the acrylic is loose, clip away the lifted flap with clean nail clippers, but be very careful not to cut your natural skin or nail. Never rip or yank the acrylic off.
Step 3: Prep the Exposed Natural Nail
Once the loose acrylic is removed, you will see a small patch of exposed natural nail where the lifting happened. Use your buffer to gently remove any shine or leftover glue residue on that exposed nail area. Dust away all the filings with your clean manicure brush.
Next, apply a nail dehydrator to the exposed natural nail. Let it dry for a few seconds until the nail looks chalky and matte. Follow this with a thin layer of nail primer to ensure your repair product sticks securely.
Applying Your Repair Product
Now that your nail is prepped and primed, it is time to fill the gap. If you are using a poly gel system, squeeze a small pea-sized amount onto the nail where the gap is located. You can check the current Amazon listing to see product details if you need a dependable kit for this step. Smooth the product out using a brush dipped in a tiny bit of alcohol, making sure it seals the edge where the old acrylic meets your natural nail.
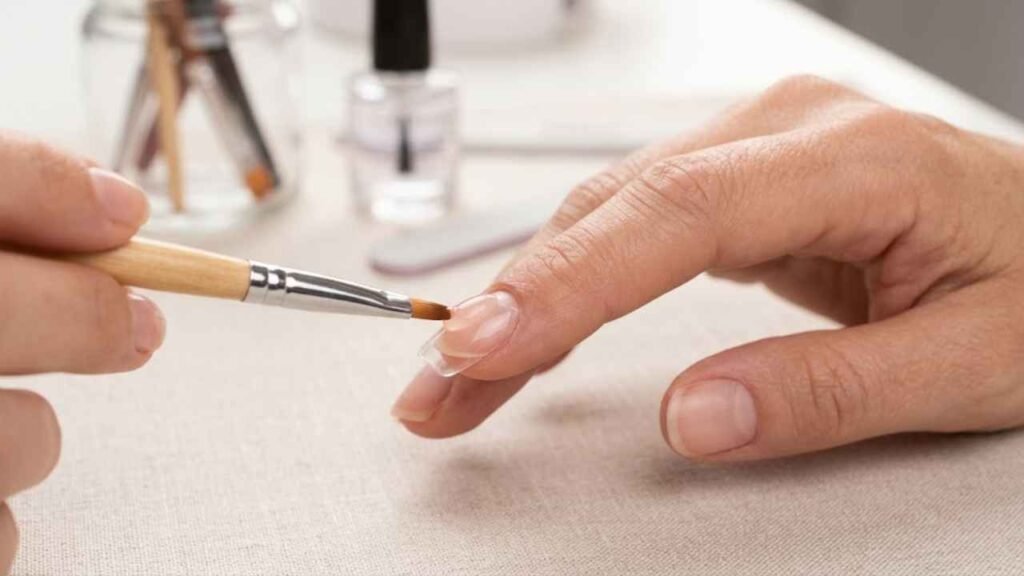
Cure or dry the product according to the instructions of the kit you are using. Once it is completely set, take your file and blend the repaired area so it matches the rest of your nail thickness. Finish by buffing the entire surface until it is smooth and even.
Common Mistakes to Avoid During Nail Repairs
People often make a few common mistakes when trying to fix their nails at home. Avoiding these errors will save your natural nails from unnecessary damage.
Never apply new acrylic or gel over dirty or oily nails. If you skip the dehydration step, the new product will lift right back up within a day or two. Another big mistake is filing too aggressively. Pressing down hard with a rough file thins out your natural nail plate, making it sensitive and weak.
Do not ignore a lifted nail and simply paint over it with regular nail polish. Trapped moisture under polish will only make things worse.
Tips to Keep Your Acrylics from Lifting Again
Prevention is always easier than repair. You can make your manicures last weeks longer by changing a few daily habits.
Wear rubber gloves whenever you wash dishes, clean your bathroom, or handle harsh cleaning chemicals. Prolonged exposure to water weakens the bond between the acrylic and your natural nail. Also, stop using your nails as tools to open soda cans, scrape stickers, or pry open packages.
Make sure you apply cuticle oil every single night. Keeping your cuticles and surrounding skin hydrated prevents the skin from pulling tightly against the acrylic base, which is a major cause of edge lifting.
When to Visit a Professional Nail Tech
While home repairs work wonders for small chips and minor edge lifting, some situations require a professional. If more than half of your acrylic nail has lifted off, or if you notice severe pain, swelling, or a greenish discoloration under the product, skip the DIY fix.

A trained nail technician has the proper tools to safely remove the entire set, inspect your nail bed for damage, and treat any potential infections before you put a new set on.
Frequently Asked Questions
Can I use regular super glue to fix a lifted acrylic nail?
No, you should never use household super glue on your nails. Super glue traps moisture, lacks proper bonding agents for cosmetic use, and can cause severe skin irritation or chemical damage to your nail bed.
How do I know if moisture is trapped under my lifted nail?
If you press down on the lifted acrylic and see a dark shadow, or if the nail feels spongy or smells unusual when you lift the edge, moisture is trapped underneath. Remove the product immediately and let the nail dry out.
Is it okay to cut off a lifted acrylic nail with clippers?
You can trim the length of a lifting acrylic nail to prevent it from snagging further, but do not clip away the part attached to your natural nail plate. Forcing clippers through the middle of an acrylic nail can split your real nail underneath.
How often should I get a full set instead of just fixing lifts?
You should completely remove and replace your acrylic set every six to eight weeks. Constantly filling and repairing the same set without a fresh base can cause structural weakness and buildup.
Why does my acrylic lift only at the thumb nail?
Thumbs take the most abuse in daily tasks like texting, opening doors, and gripping items. Extra pressure on your thumbs causes the acrylic to flex and break the seal near the cuticle faster than your other fingers.